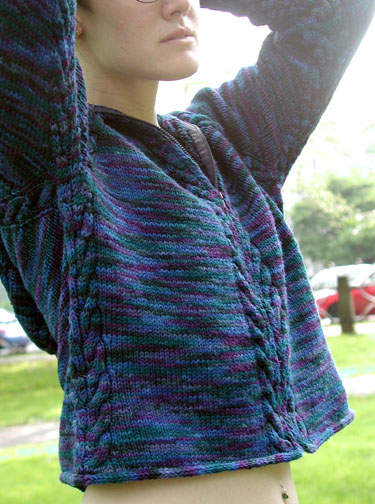
I am working on bpt, and it's a completely exasperating design. The directions for the increases are so murky that I've had to frog the cardigan three times.
Huh?"Beginning with row 2 of the cable patterns, work Set Up Row [WS] as follows:
Sl 1, p1, CB, p4[5, 7, 8], CF, place marker, p4[6, 6, 6], CB, place
marker, p6[8, 9, 10], DC, p6[8, 9, 10], CF, place marker, p4[6, 6, 6], CB, place marker, p4[5, 7, 8], CF, p2.Inc row [RS]: Sl 1, *work in patt to 1 st before first marker, k1 into st below, k1, sl marker, work cable sts in patt, k1, k1 into st below, rep from * 3 times more. [inc 8 sts each round.]
All following WS rows: Sl 1, then work all sts as they appear.
Work these two rows [the Inc Row and the WS row] 28[30, 33, 36] times more, ending on a WS row, removing the second and fourth markers on the last row -- 327[353, 383, 411] sts. If you have just completed row 4, work 2 rounds in patt without increasing."
So I stopped, started writing row by row directions, and found a PATTERN to the increases. At last.
Turns out there's actually a very clear "formula" hidden in the ridiculously terse increase directions.
Every odd-numbered round, increase as follows: at each marker - increase, K1, slip marker, cable, k1, inc. So you'll do one increase just before the stitch before the marker, then another increase after the first cable + K1.
Makes sense. Finally.
No comments:
Post a Comment
Thanks for sharing your thoughts - it's great to hear from you!